How to Install a Rigid Chimney Liner Top Kit
Installing a stainless steel chimney liner is an easy and economical way to repair a deteriorated, old, or inefficient chimney flue. Our rigid lining systems are constructed of high grade, 24 gauge, seam welded, stainless steel. They are available in 304 for wood burning and 316 alloy for all fuel applications. The smooth interior of the pipe allows for better draft and less creosote build up. This is what you need.
Once you buy a rigid chimney liner kit online through Fireside Chimney, it will be delivered soon. Then, you'll need to install it. Is this difficult to do? Not at all! In fact, it can be done in ten steps.
Step #1 Get your tools. You'll need a razor knife, flat head screwdriver, caulk gun, a pair of working gloves, and safety glasses. A power drill and grinder will also be needed. That's it!
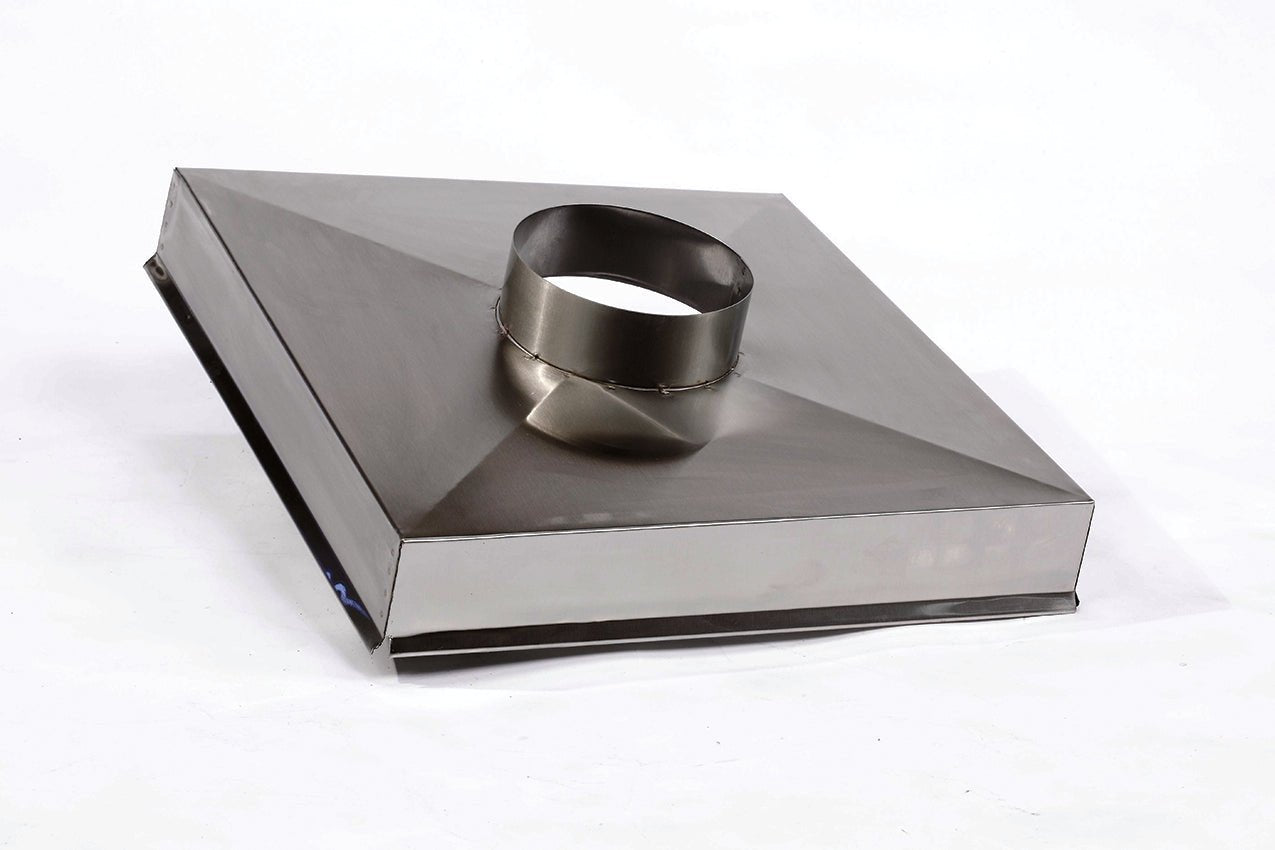
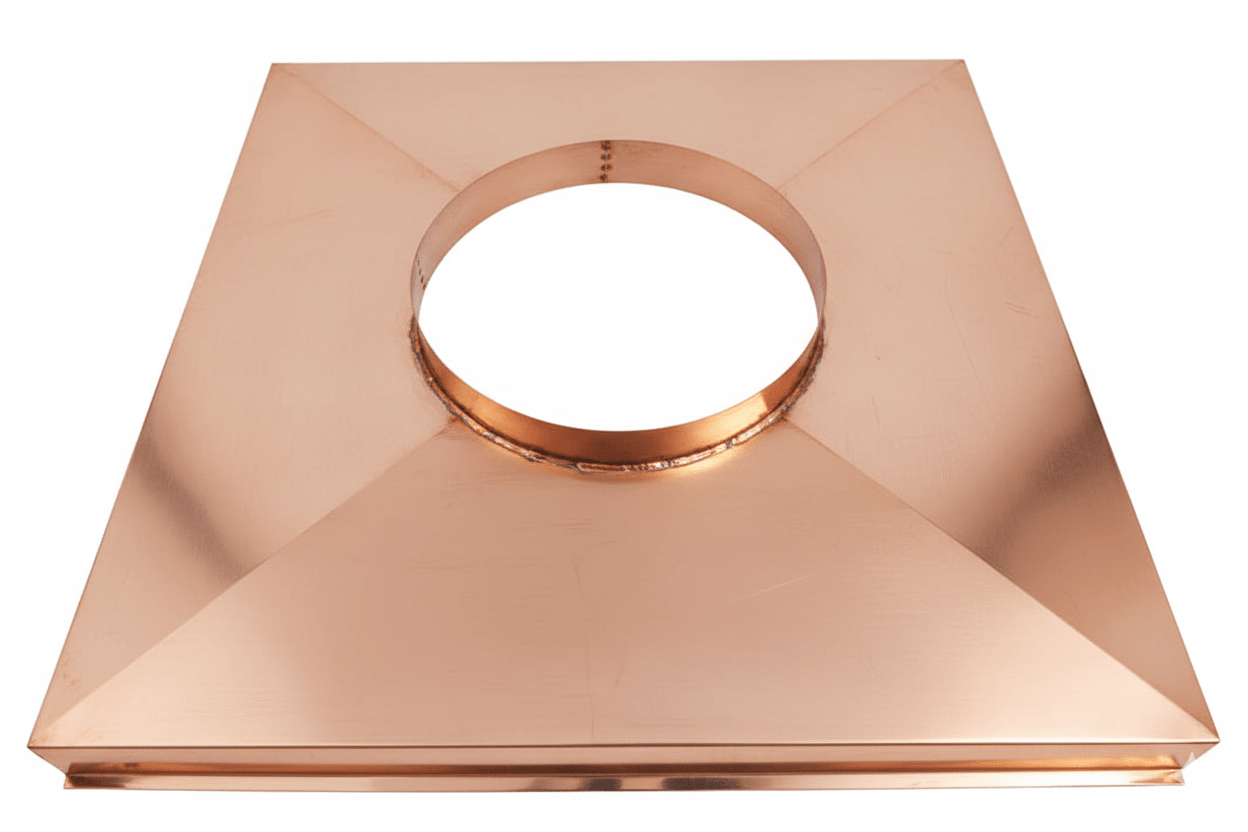
Step #2 It's time to open up and sort of the chimney liner kit. Each rigid liner system requires the use of a standard top plate, top support clamp, storm collar, liner, rain cap and possibly a tee connector.
Step #3 Prepare the stainless steel chimney liner. Using your razor knife, remove the plastic wrap that the liner is coiled in. Once you have the liner out, straighten it all out.
Step #4 Locate the vertical part of the tee and insert the liner into the top of the "female" end. Tighten the clamp at the top of the vertical part of the tee around the liner with the screwdriver. This will give you a great, tight fit without having to drill screws through the liner.
Step #5 It is time to insert the chimney liner down the flue. Lower the liner down the chimney until you reach the thimble. This is the hole on the side of the chimney in the living space that allows the stove pipe to attach to the chimney. If you are getting caught or hung up on the chimney walls, twisting the liner will help you install it.
Step #6 Now, head inside and finish installing the tee connection. Insert the horizontal section of the tee into the thimble. Snake the vertical part of the tee through the horizontal hose clamp until the lips of the tee are inside the horizontal part. With your flat head screwdriver, tighten the worm screw until the two parts of the tee connect. Go slowly! This is very important to get right.
Step #7 Connect the stove pipe to the tee connection. Most stove pipes come with three screws per connection point. Use your drill to put the screws into the horizontal part of the tee and through the exhaust collar of the stove.
Step #8 The next step is to connect the top plate to the top of the chimney. Run a bit of silicone along the top edge of the flue. Next, thread the chimney liner through the round collar of the top plate so that the top plate is sitting on the top edge of it.
Step #9 You're almost finished! Now is the time to connect the liner to the top plate. With the liner flush with the top of the collar of the top plate, tighten the worm screw so that the hose clamp tightens around the liner.
Step #10 Don't forget the rain cap! Once you install this chimney cap, you have successfully installed a stainless steel chimney liner!
You should be able to install a chimney liner after reading this. If you have any additional questions, reach out and ask!