What Goes Into Installing a Chimney Liner Kit?
January 28, 2015
If your chimney flue is damaged, deteriorated, or inefficient in any way, the only option you really have is to install a new stainless steel chimney liner. The installation of a new chimney liner can be done with household tools if you're someone who's handy around the house, and you'll also need to invest in a chimney liner kit. If you frequently use your chimney, keeping a safe liner is something you'll definitely want to do. This way, you're preventing carbon monoxide from leaking into your home and lowering your chances of a chimney fire. Plus, a majority of chimney liners come with a lifetime warranty.
So, with that being said - we're going to break down the insides of a chimney liner kit and what is needed to properly install a stainless steel chimney liner, whether you choose to do it yourself, or if you just want to know how the pros do it.
Installing Chimney Liners with a Chimney Liner Kit
Before any tools are gathered, the size of your needed for your chimney liner needs to be determined. Your chimney liner will need to be the same equal height as the chimney - if you order too long, that's fine, you can always cut it down near the end of the installation.
Tools Needed for Installing Chimney Liners
- Caulking Gun
- Flat Head Screw Driver
- Razor Knife
- Working Gloves and Safety Goggles
- Grinder w/ Cut Off Wheel
- Power Drill
Components of a Chimney Liner Kit
- Stainless Steel Chimney Liner
- Rain Cap
- Top Plate
- Connector (Two-Tee Connection)
Call a Professional Chimney Liner Installer
If you're unsure as to whether or not your chimney needs a new liner, contact a professional to come and do an inspection. By getting a proper inspection, every component of the chimney liner can be checked, and you may not even need to replace the entire liner. So, to keep your home safe and chimney free of fires, make sure you have a stainless steel chimney liner, or any chimney liner for that matter. For additional assistance call us here at Fireside Chimney Supply, 877-486-8119.
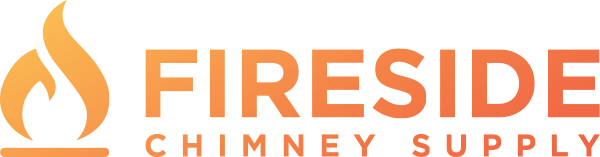
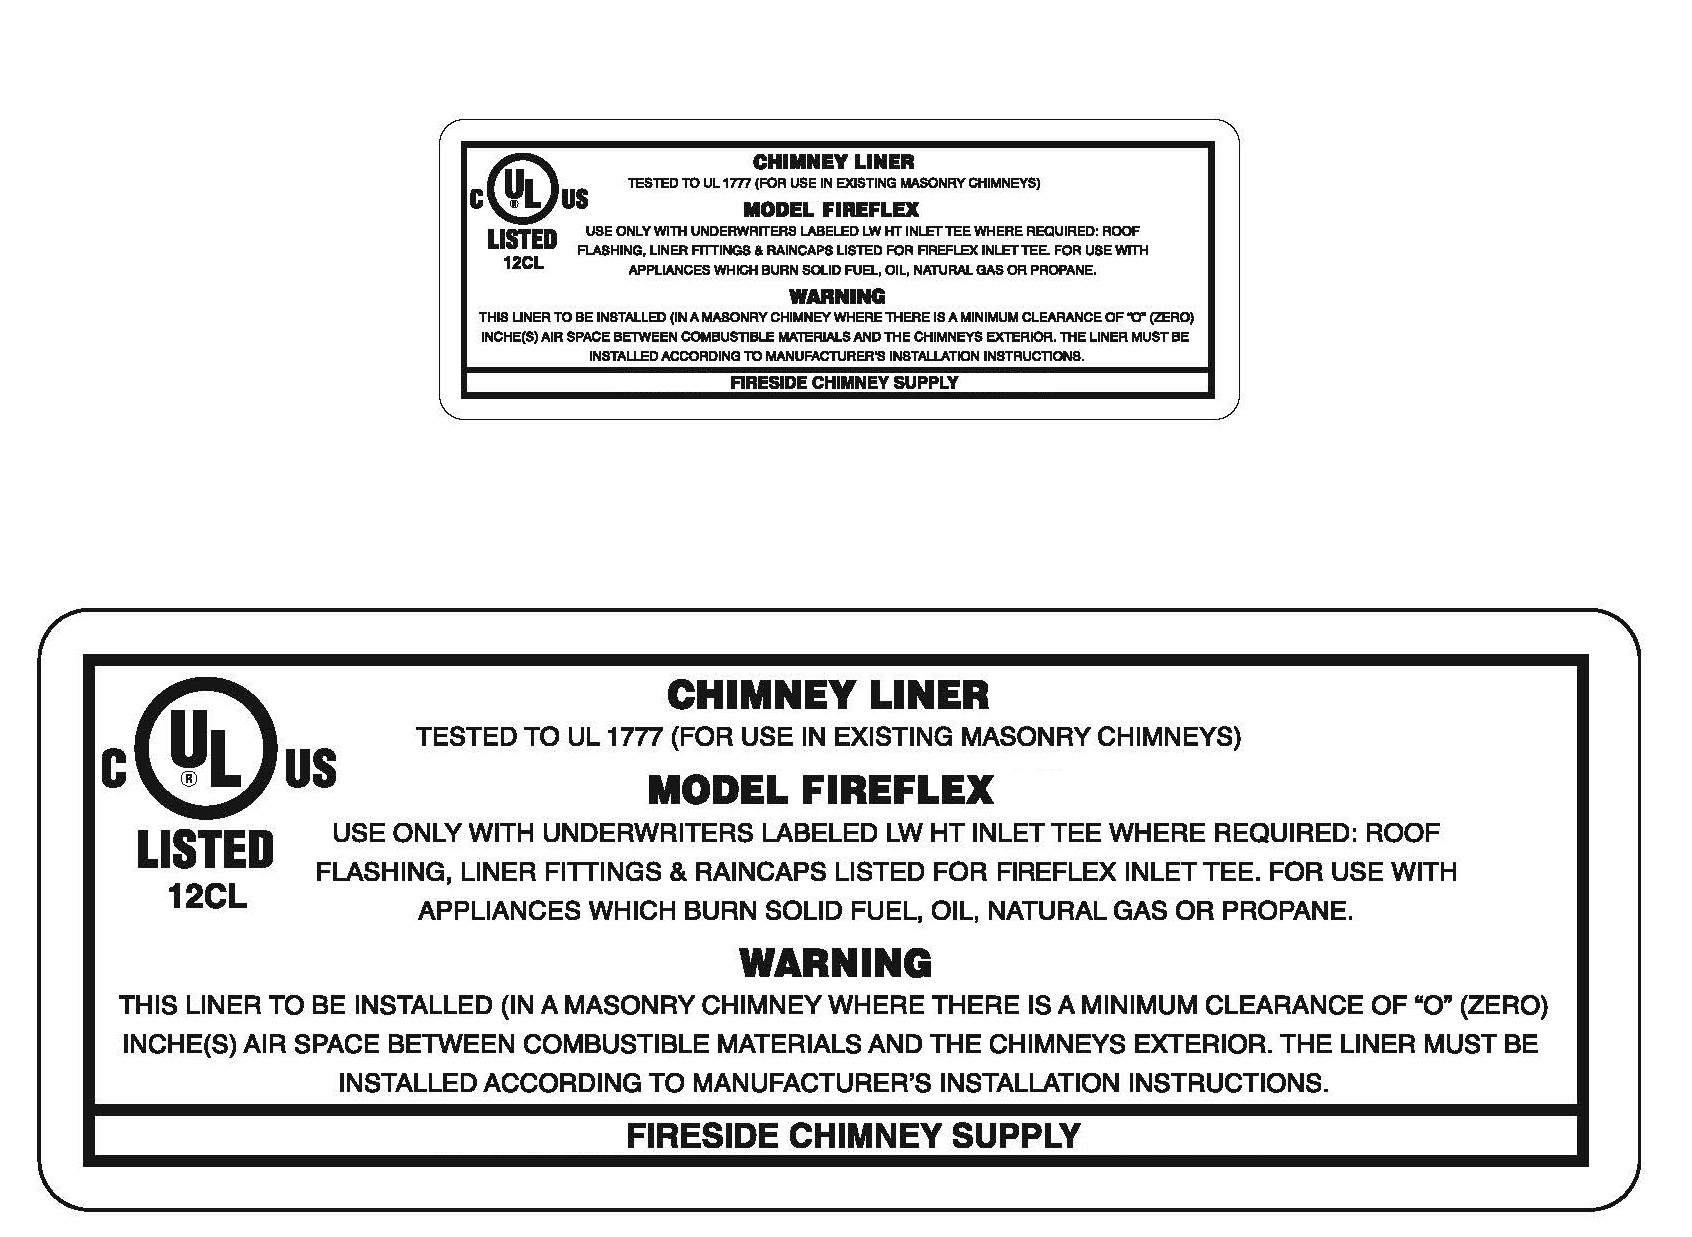
Others may claim their chimney liners are UL listed. We show you the proof.


Open Weekdays
Monday - Friday 9am - 5pm
Saturday Closed
Sunday Closed
1-877-486-8119